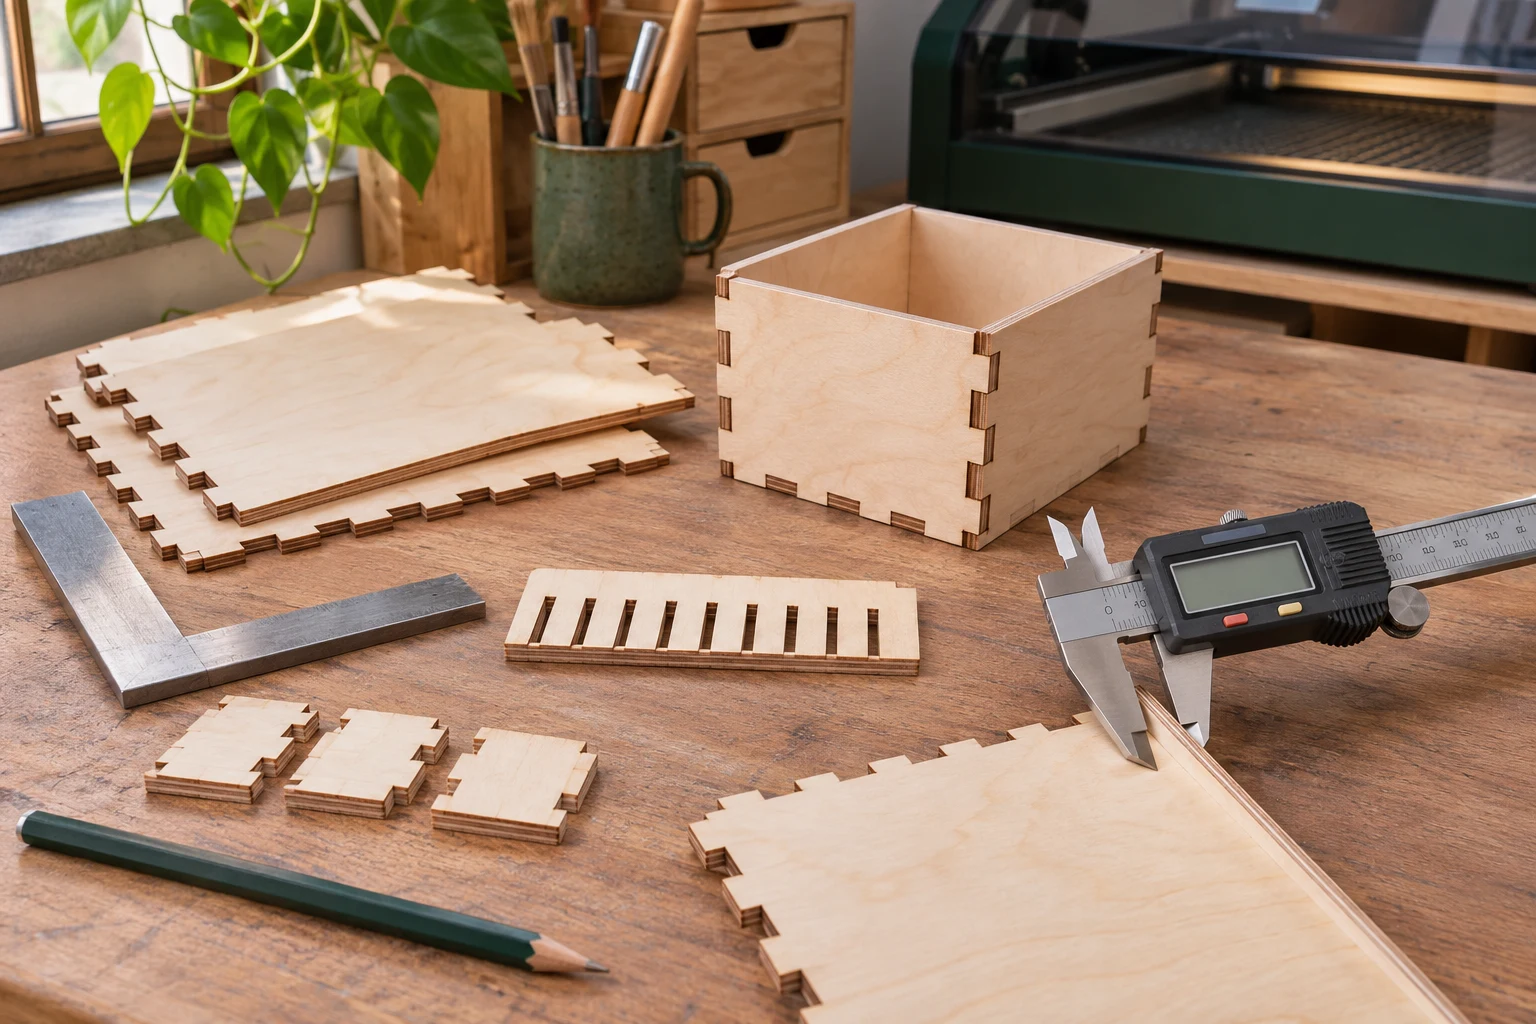
A laser cut box can look perfectly engineered on screen and still refuse to assemble. Tabs stop halfway into their slots, corners wobble after gluing, or a drawer that moved smoothly in the file becomes trapped in the finished case. These problems are rarely random. They usually come from three variables that must agree: the file's dimensions, the material's actual thickness and the width removed by the laser beam.
The goal is not to discover one permanent “perfect” slot size. The useful goal is a short, repeatable test that tells you how this sheet and this machine behave today—before a complete organizer consumes material and machine time.
Why the same file can fit differently
Digital geometry is exact; physical sheets are not. Plywood sold as 3 mm may measure slightly above or below that number. MDF can vary between suppliers. Humidity, veneer thickness, glue layers and surface coatings can also influence the final measurement. Two sheets from the same package may not be identical.
The laser adds another variable. Its beam removes a narrow channel of material called the kerf. Kerf changes with material, focus, lens, power, speed, air assist and the number of passes. A setting that produces a clean cut through thin birch may produce a wider or more charred edge in another material.
Finally, the correct fit depends on the project. A permanent glued corner can have a little movement during assembly. A press-fit organizer needs more grip. A sliding lid or drawer needs controlled clearance instead of friction.
“Tight” is not automatically better. A joint that needs a mallet may split plywood or make a box impossible to square. Choose the amount of grip according to whether the part will be glued, removable or expected to move.
Measure the sheet, not the label
Use digital calipers to measure the material in several places. Avoid relying on one corner, especially if the sheet is warped or has a decorative coating. Record the smallest and largest readings. If the variation is large enough to affect fitted parts, reserve that sheet for designs that do not depend on precise slots.
Measure each new material batch, even when the product name has not changed. Keep a simple note with the supplier, material type, nominal thickness, actual range and the date. This turns trial and error into a usable material library.
For a design with tabs and slots, inspect whether the file was created for a stated thickness. Some downloads include separate versions for different sheets; others require you to adjust the slot width. Do not scale the entire box to correct the slot. Scaling changes every external dimension, lid, divider and hardware opening at once.
Understand what kerf does to parts
The laser cuts along a vector path, but the physical gap is wider than the mathematical line. An outside cut makes the finished piece slightly smaller than the path. An inside opening becomes slightly larger. That difference is why a tab and slot drawn at the same nominal width may not produce the intended grip.
Kerf compensation shifts cut paths so the finished physical edges land closer to the desired dimensions. The exact direction and value depend on whether you are correcting an outside part, an internal opening or a shared cut line. Software handles offsets differently, so verify the result instead of applying a remembered number automatically.
A kerf test can be a measured square, a series of slots or a comb with graduated widths. Use the same material, focus and cutting settings planned for the project. Let the pieces cool before measuring or judging fit, and clean them in the same way you will clean the final box.
Tune finger joints without rebuilding the box
Finger joints distribute contact along alternating tabs and recesses, creating strong corners with a large gluing area. For the joint to work, tab depth should match the material thickness and the mating widths should allow the intended level of friction.
Start by isolating one representative corner from the file. Include at least two or three fingers so the test reflects accumulated fit, not a single tab. Cut several small variations around the measured material thickness. Label the samples immediately; tiny dimensional differences are difficult to identify later by sight.
Press the pieces together by hand on a flat surface. A glue-fit joint should assemble without damaging the veneer, remain square and leave room for a thin adhesive layer. A friction fit may grip more firmly, but it should not require force that bows the panels. Test disassembly only if the finished project is meant to come apart.
When editing, change the joint geometry or apply a controlled offset to the relevant edges. Keep the external box dimensions stable. After adjusting one corner, check whether dividers, internal shelves and the base use the same slot logic before copying the correction throughout the file.
 Boxes & Organizers
Stackable Storage Box Laser Cut File Bundle
View product → Boxes & Organizers
Wooden Recipe Box Laser Cut SVG Bundle
View product → Boxes & Organizers
Locking Treasure Box Laser Cut File
View product →Give lids, drawers and nested boxes room to move
A fixed corner and a moving component need different tolerances. Sliding lids require enough side clearance to move after sanding, painting or sealing. Drawers need clearance across both width and height, and a wide drawer may bind if the case is even slightly out of square.
Account for the complete finish. Paint adds thickness, masking can hide residue that later needs sanding, and a clear coat can change a once-smooth sliding surface. Test the lid or drawer after the same finishing steps planned for the final project.
For nested trays and stackable boxes, test how tolerances accumulate. A small error repeated across two walls, dividers and an outer case can become a visible mismatch. Assemble the outer structure square before using it to judge an internal component.
Use a small, repeatable test workflow
- Open the file and confirm its units, overall dimensions and intended material thickness.
- Measure the actual sheet in several places with calipers.
- Check for duplicate paths, open corners and overlapping cut lines.
- Isolate one representative finger joint plus any lid, divider or drawer fit that works differently.
- Cut a small range of labeled fit samples using the final material and settings.
- Assemble by hand, check squareness and repeat the planned sanding or finishing steps.
- Update only the necessary joint or clearance dimensions, then save the tested version separately.
Keep the successful physical test piece. Write the material, measured thickness, setting and file version on it. The next time that stock appears in the workshop, a labeled sample is more useful than a vague note saying “3 mm box worked.”
Troubleshoot by reading the failure
The joint will not start
The slot may be too narrow, the material thicker than expected or the cut incomplete. Check the underside before changing the file. Forcing an incomplete cut can tear the face veneer.
The joint starts but stops halfway
Look for tapered edges, debris, panel warping or cumulative friction across several fingers. Test a multi-finger sample rather than widening one slot based on a single point.
The assembled corner wobbles
The fit may be too loose, but also check for an extra pass, duplicated paths or over-sanding. Use a square during glue-up; adhesive cannot correct panels that cure out of alignment.
The lid worked before finishing
Paint, sealant or edge swelling may have consumed the clearance. Sand the test part only if that same finishing step can be repeated consistently in production; otherwise revise the designed clearance.
Before cutting the complete box
- The file units and finished dimensions are confirmed.
- The actual material thickness has been measured in several places.
- Kerf was tested with the final material and cutting settings.
- A representative multi-finger corner assembles without damage.
- Lids, drawers, dividers and nested parts have appropriate clearance.
- The finishing process has been included in the fit test.
- The successful settings and file version are recorded.
A box that fits well is not the result of guessing a perfect universal kerf. It comes from measuring the sheet, testing the joint that matters and preserving what you learned. Once that routine becomes familiar, complicated organizers become far more predictable—and failed full sheets become much less common.